Tutorials/Colour grading
Colour grading allows you to change the colour and brightness tints of an entire map.
Disclaimer: This feature is controversial. Some players turn it off to improve the visual clarity of the game.
Requirements
- A screenshot of your map, preferably of the area you want to work with
- The neutral colour grade
- found in main/cgrading/ of your .pk3s
- Optionally right click and save the skinny image on the right of this page.
- An image editing program. This guide uses the GIMP, but you can use anything.
Guide
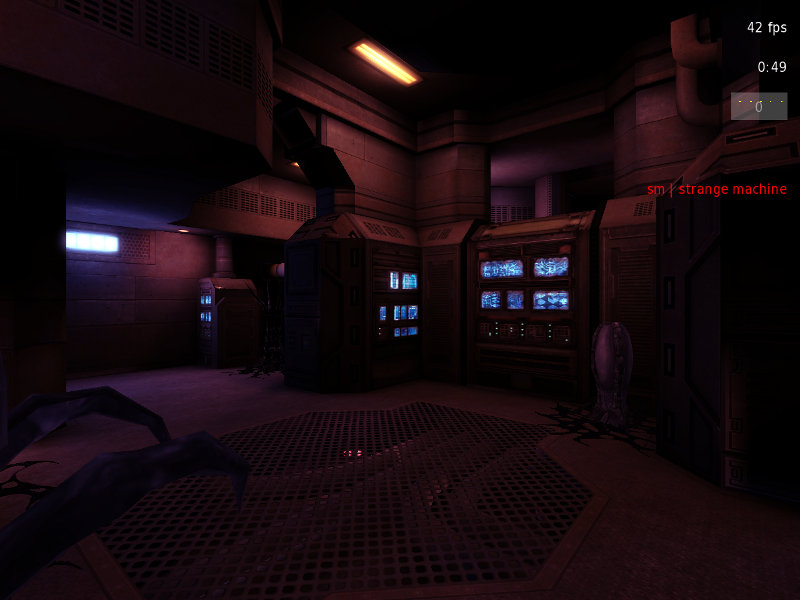
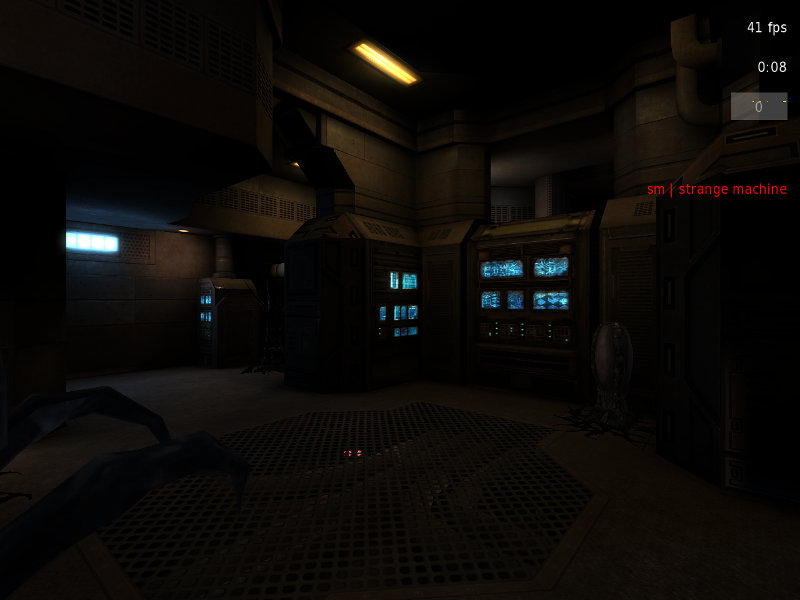
Here is the screenshot used in this tutorial. It's of the alien spawning view on Parpax, and it has a nice variety of colors to work with:
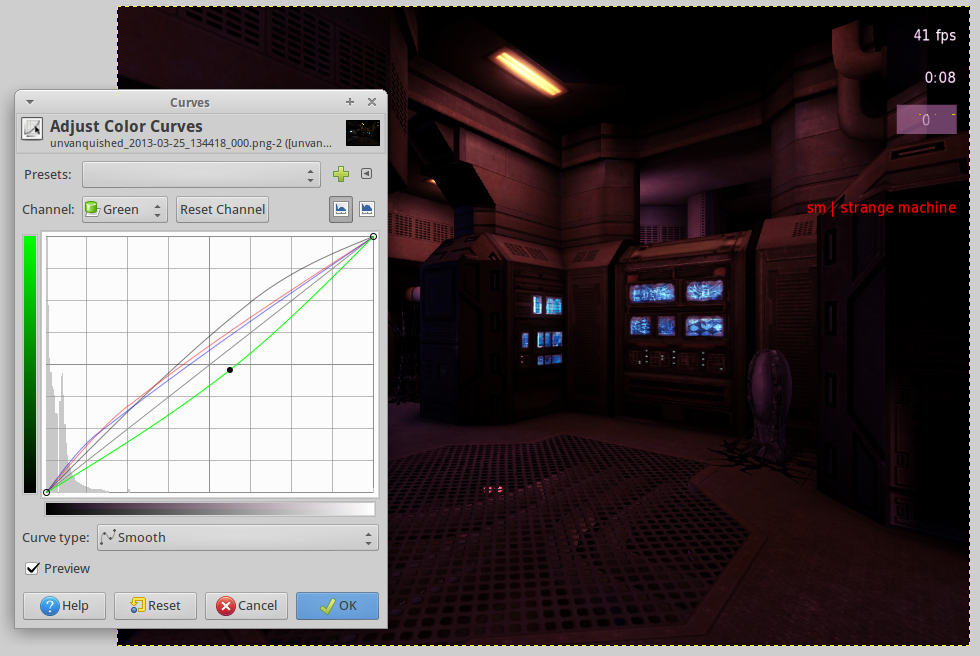
Load the screenshot in your image editor and adjust the image's colour curves.
- GIMP: Colors menu -> Curves
- Other editors: may be under the name of "levels"
Modify the curves of your colour channels until your screenshot obtains the desired look. Each "channel" affects a colour of the image. In the GIMP "Value" is a channel holding brightness.
In this example the picture has been made slightly brighter, redder, bluer and less green. Viech (the author of Parpax) will probably cry to see such a garish colour scheme, so don't tell him this is here.
Now save your curves. In the gimp, you click the plus button next to the presets drop-down menu.
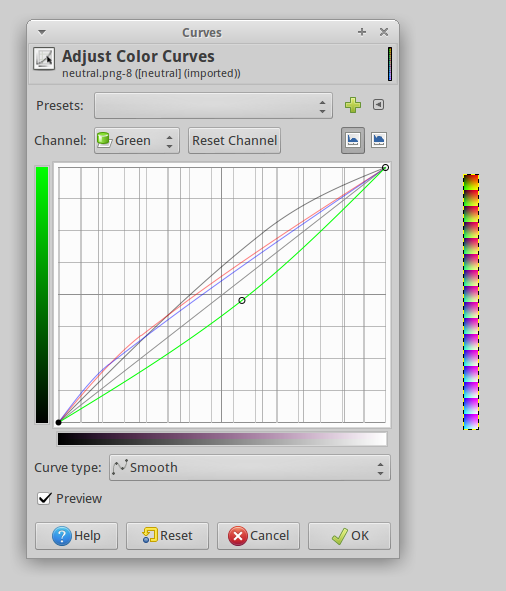
Apply these same modifications to the neutral colour grade image:
Save the modified colour grade in your map's folder hierarchy. Eg:
ultimate_frisbee.pk3dir/gfx/test_colour_grading.png
- Make sure it is inside a gfx subfolder.
- You can save it in any format the engine understands. Jpeg is not recommended.
Testing in-game
Load your map in Unvanquished and use the testcgrade console command to load your colour map. Eg
/testcgrade gfx/test_colour_grading.png
Applying to your map
Place your colour grade in a subfolder with your map's name. Eg:
ultimate_frisbee.pk3dir/gfx/ultimate_frisbee/test_colour_grading.png
In NetRadiant: add a key/value pair to the "worldspawn" entity by selecting any non-entity brush and pressing the N key.
- key: "gradingTexture"
- note capitalisation
- value: "gfx/ultimate_frisbee/test_colour_grading"
- WITHOUT the file extension
For example, on chasm-b1, the key/value pair is: colorGrade : gfx/chasm/colorgrading
Originally from http://unvanquished.net/forum/viewtopic.php?f=8&t=704

